
What is a phone repair shop checkout workflow?
A phone repair shop checkout workflow is the process that moves a finished repair from the bench through final review, payment, receipt, and customer pickup.
It connects the technical end of the repair with the customer-facing end of the job.
The process normally begins when the technician believes the repair is complete. It ends when the shop has recorded the final payment and pickup details, returned the device and accessories, and moved the repair into its correct closed state.
A clear checkout workflow should answer:
- Was the approved repair completed?
- Were the correct parts and services added?
- Did the device pass the relevant final checks?
- Does the final price match the recorded work?
- Has any deposit or previous payment been accounted for?
- Has the remaining amount been paid?
- Was a receipt provided?
- Is the device ready to leave the shop?
- Has the repair record been closed correctly?
- Repair Ticket
- Parts and Services
- QA
- Final Price
- Payment
- Receipt
- Pickup
Why repair checkout is different from retail checkout
A normal retail checkout usually starts with a product, moves to a cart, and ends with payment and a receipt.
A repair checkout begins much earlier.
The final transaction may depend on the original intake, diagnosis, approved work, parts used, services performed, technician notes, QA results, deposits, and changes made during the repair.
The two workflows look different:
Standard retail checkout
- Product
- Cart
- Payment
- Receipt
Phone repair checkout
- Customer and device
- Repair ticket
- Approved work
- Parts and services
- Technician completion
- QA
- Final price
- Payment
- Receipt
- Pickup
A generic checkout screen may be able to collect payment, but staff still need the repair context that explains what the customer is paying for and whether the device is ready to leave.
A shop considering a general payment platform can review whether Square POS is enough for its repair workflow.
Review the repair ticket before starting checkout
Checkout should begin with the repair ticket, not with an empty cart.
Review the record before asking the customer to pay. The ticket should show enough context for the person handling pickup to understand what came in, what was approved, and what work was completed.
This is especially important when the person completing checkout is not the technician who performed the repair.
Confirm the ticket includes
- The correct customer
- The correct device
- Ticket or repair number
- Original reported issue
- Relevant condition notes
- Approved repair scope
- Work performed
- Technician or staff notes
- Current repair status
- Accessories received with the device
- Any unresolved issue that the customer should know about
If the ticket does not clearly explain the completed work, fix the record before moving into payment.
Confirm the final parts and services
The repair record and final charge should describe the same job.
Review every part and service attached to the repair. Remove items that were planned but not used, and add approved work that was completed but never recorded.
Review
- Parts installed
- Part quantities
- Repair services performed
- Diagnostic or labor charges
- Approved additional work
- Discounts
- Tax treatment
- Any cancelled or unused item
The goal is not to add more detail than the shop needs. The goal is to prevent a mismatch between the repair ticket, the work performed, and the amount presented to the customer.
If diagnosis changed the repair scope, make sure the customer’s approval is recorded before charging for the revised work.
Complete final QA before taking payment
A repair should not be treated as ready for checkout only because the technician has stopped working on it.
Complete the relevant final checks first.
The exact QA steps depend on the device and repair type. A screen replacement may need display, touch, camera, speaker, microphone, button, charging, and biometric notes. A charging repair may require a different set of tests.
Before checkout, confirm
- The approved repair was completed
- Relevant device functions were tested
- The repaired area was inspected
- The device was cleaned where appropriate
- Any failed or untested function was documented
- Additional issues were recorded
- The device is genuinely ready for customer pickup
If QA finds another problem, move the repair back into the correct working or approval stage instead of continuing checkout prematurely.
Use the phone repair QA checklist to complete the relevant final checks before checkout.
Confirm the final price and explain any change
The customer should not discover an unexplained price change at the payment screen.
Compare the final total with the estimate or approval recorded earlier in the repair.
If the price changed, confirm that the difference came from an approved change such as:
- A different part
- Additional labor
- Additional damage found during diagnosis
- A revised service
- A discount
- A tax adjustment
- Work the customer chose not to continue
The final total should show the parts, services, discounts, and tax clearly enough for staff to explain it without rebuilding the repair from memory.
Use the phone repair estimate calculator to test parts, labor, tax, discount, deposit, and remaining balance before checkout.
When a material change has not yet been approved, pause checkout and return to the customer approval workflow.
Reconcile deposits or previous payments
Check whether the customer has already paid part of the total.
A shop may collect a diagnostic fee, deposit, part payment, or another advance amount before the repair is finished. That payment needs to be reflected in the final balance.
Confirm
- The previous payment belongs to the correct customer and repair
- The amount recorded matches the amount received
- The payment method is recorded correctly
- The payment has not been counted twice
- The remaining balance is correct
Example
Final repair total: $180
Deposit already paid: $50
Remaining balance: $130
Do not rely on a handwritten note or staff memory when a previous payment affects the amount due.
Take and record the remaining payment
Once the ticket, QA, final total, and previous payments are confirmed, collect the remaining amount.
Use the payment method selected by the customer and supported by the shop.
Before marking the repair paid
- Confirm the amount due
- Confirm the payment method
- Confirm that the payment succeeded or was received
- Record the payment against the correct transaction
- Check the remaining balance
- Avoid marking the job paid before the transaction is confirmed
If a shop accepts more than one payment method for the same repair, the recorded payment amounts should add up to the amount received.
Issue a clear receipt
The receipt gives the customer a record of the completed transaction and gives the shop a cleaner reference if the customer returns with a question.
A useful repair receipt may include:
- Shop details
- Transaction or receipt number
- Date
- Customer name
- Device or repair reference
- Parts
- Services
- Subtotal
- Discount
- Tax
- Total
- Previous payments
- Amount paid at checkout
- Remaining balance, if any
- Payment method
- Relevant warranty or aftercare information provided by the shop
Receipt requirements vary by location and business setup. The shop should configure its process around the rules that apply to it.
The receipt should match the final transaction and repair ticket. Avoid editing one without updating the other.
Update the repair status accurately
“Repair completed,” “ready for pickup,” and “picked up” do not always mean the same thing.
A device can be technically complete while still waiting at the shop. A customer may have paid remotely but not collected the phone. Another customer may arrive before the front desk has completed the final record.
Use statuses that make the real state of the repair clear.
A practical distinction
QA or final check
The technical work is being verified.
Ready for pickup
The repair passed its final check and the customer can collect it.
Completed or closed
The shop has finished its required operational steps.
Picked up
The device has physically been returned to the customer.
Use only statuses supported by the current product. Do not introduce new application statuses solely because they appear in this educational guide.
The important principle is that staff should not close the repair in a way that hides whether the device is still waiting in the shop.
Complete the customer pickup handoff
The final handoff should be deliberate even when the shop is busy.
Before returning the device:
- Confirm the correct customer or authorized pickup person
- Confirm the correct device
- Return cases, SIM trays, chargers, or other recorded accessories
- Explain the work completed
- Demonstrate the repaired function when practical
- Mention any known limitation or untested function
- Provide the receipt
- Share any warranty or aftercare information the shop offers
- Record that pickup occurred
- Close the ticket through the shop’s normal process
This final step protects the clarity of the repair record and gives the customer a chance to raise a question before leaving.
Common phone repair checkout problems
A checkout process usually breaks down because information was missed earlier in the workflow.
Taking payment before QA
The customer pays before the device passes its final checks. A newly discovered problem then forces staff to reopen the job or explain why a paid repair is not ready.
Parts or services missing from the ticket
The technician completed work that was never added to the repair record. The front desk has to reconstruct the price while the customer waits.
Scope changes recorded only in messages
The customer approved a change in a text message or phone call, but the decision never reached the ticket.
A deposit is overlooked
The customer is asked to pay the full total even though part of the repair was already paid.
The job is closed before pickup
The record says completed, but the device remains in the shop and staff lose a clear view of what is still waiting for collection.
Receipt details do not match the repair
The receipt shows a generic product or service while the ticket contains the real repair details.
Accessories are not returned
A case, charger, SIM tray, or other item recorded at intake is forgotten during pickup.
Phone repair shop checkout checklist
Use this checklist as a starting point and adjust it to match the way your shop works.
Example phone repair checkout workflow
A customer brings in a phone for a screen replacement and pays a deposit when the repair is approved.
Before checkout
The front desk opens the repair ticket and confirms:
- The correct customer and phone
- Screen replacement was approved
- One replacement screen and the repair service are recorded
- The technician completed the work
- No unapproved service was added
QA
Staff test the:
- Display
- Touch response
- Front and rear cameras
- Speaker and microphone
- Charging
- Physical buttons
- Repaired area
The phone passes the relevant checks and is marked ready for pickup.
Final price
The repair total is $180.
The ticket shows a $50 previous payment, leaving a $130 balance.
Payment and receipt
The customer pays the remaining $130 using a payment method accepted by the shop.
Staff record the payment, provide the receipt, return the phone and recorded accessories, and explain the completed work.
Pickup
The device is handed back to the customer and the repair is moved into the correct picked-up or closed state supported by the shop’s system.
How connected repair software helps at checkout
Checkout is easier when the repair details and transaction do not live in separate systems.
A connected workflow gives staff one clearer path from:
- Repair intake
- Repair ticket
- Parts and services
- Technician progress
- QA
- Checkout
- Receipt
- Pickup
SpudgerHQ is designed to help small repair shops keep repair jobs, parts or services, customer records, checkout, receipts, and daily shop activity connected around the same operation.
The goal is not to add more process at the counter. It is to make the existing process easier to follow when the person handling checkout needs to understand what happened during the repair.
After individual checkout, the repair shop end-of-day process explains how to review completed and unpicked repairs alongside payments, cash movements, exceptions, and tomorrow's priorities.
See broader phone repair shop software capabilities, or compare a generic POS and repair-shop workflow.
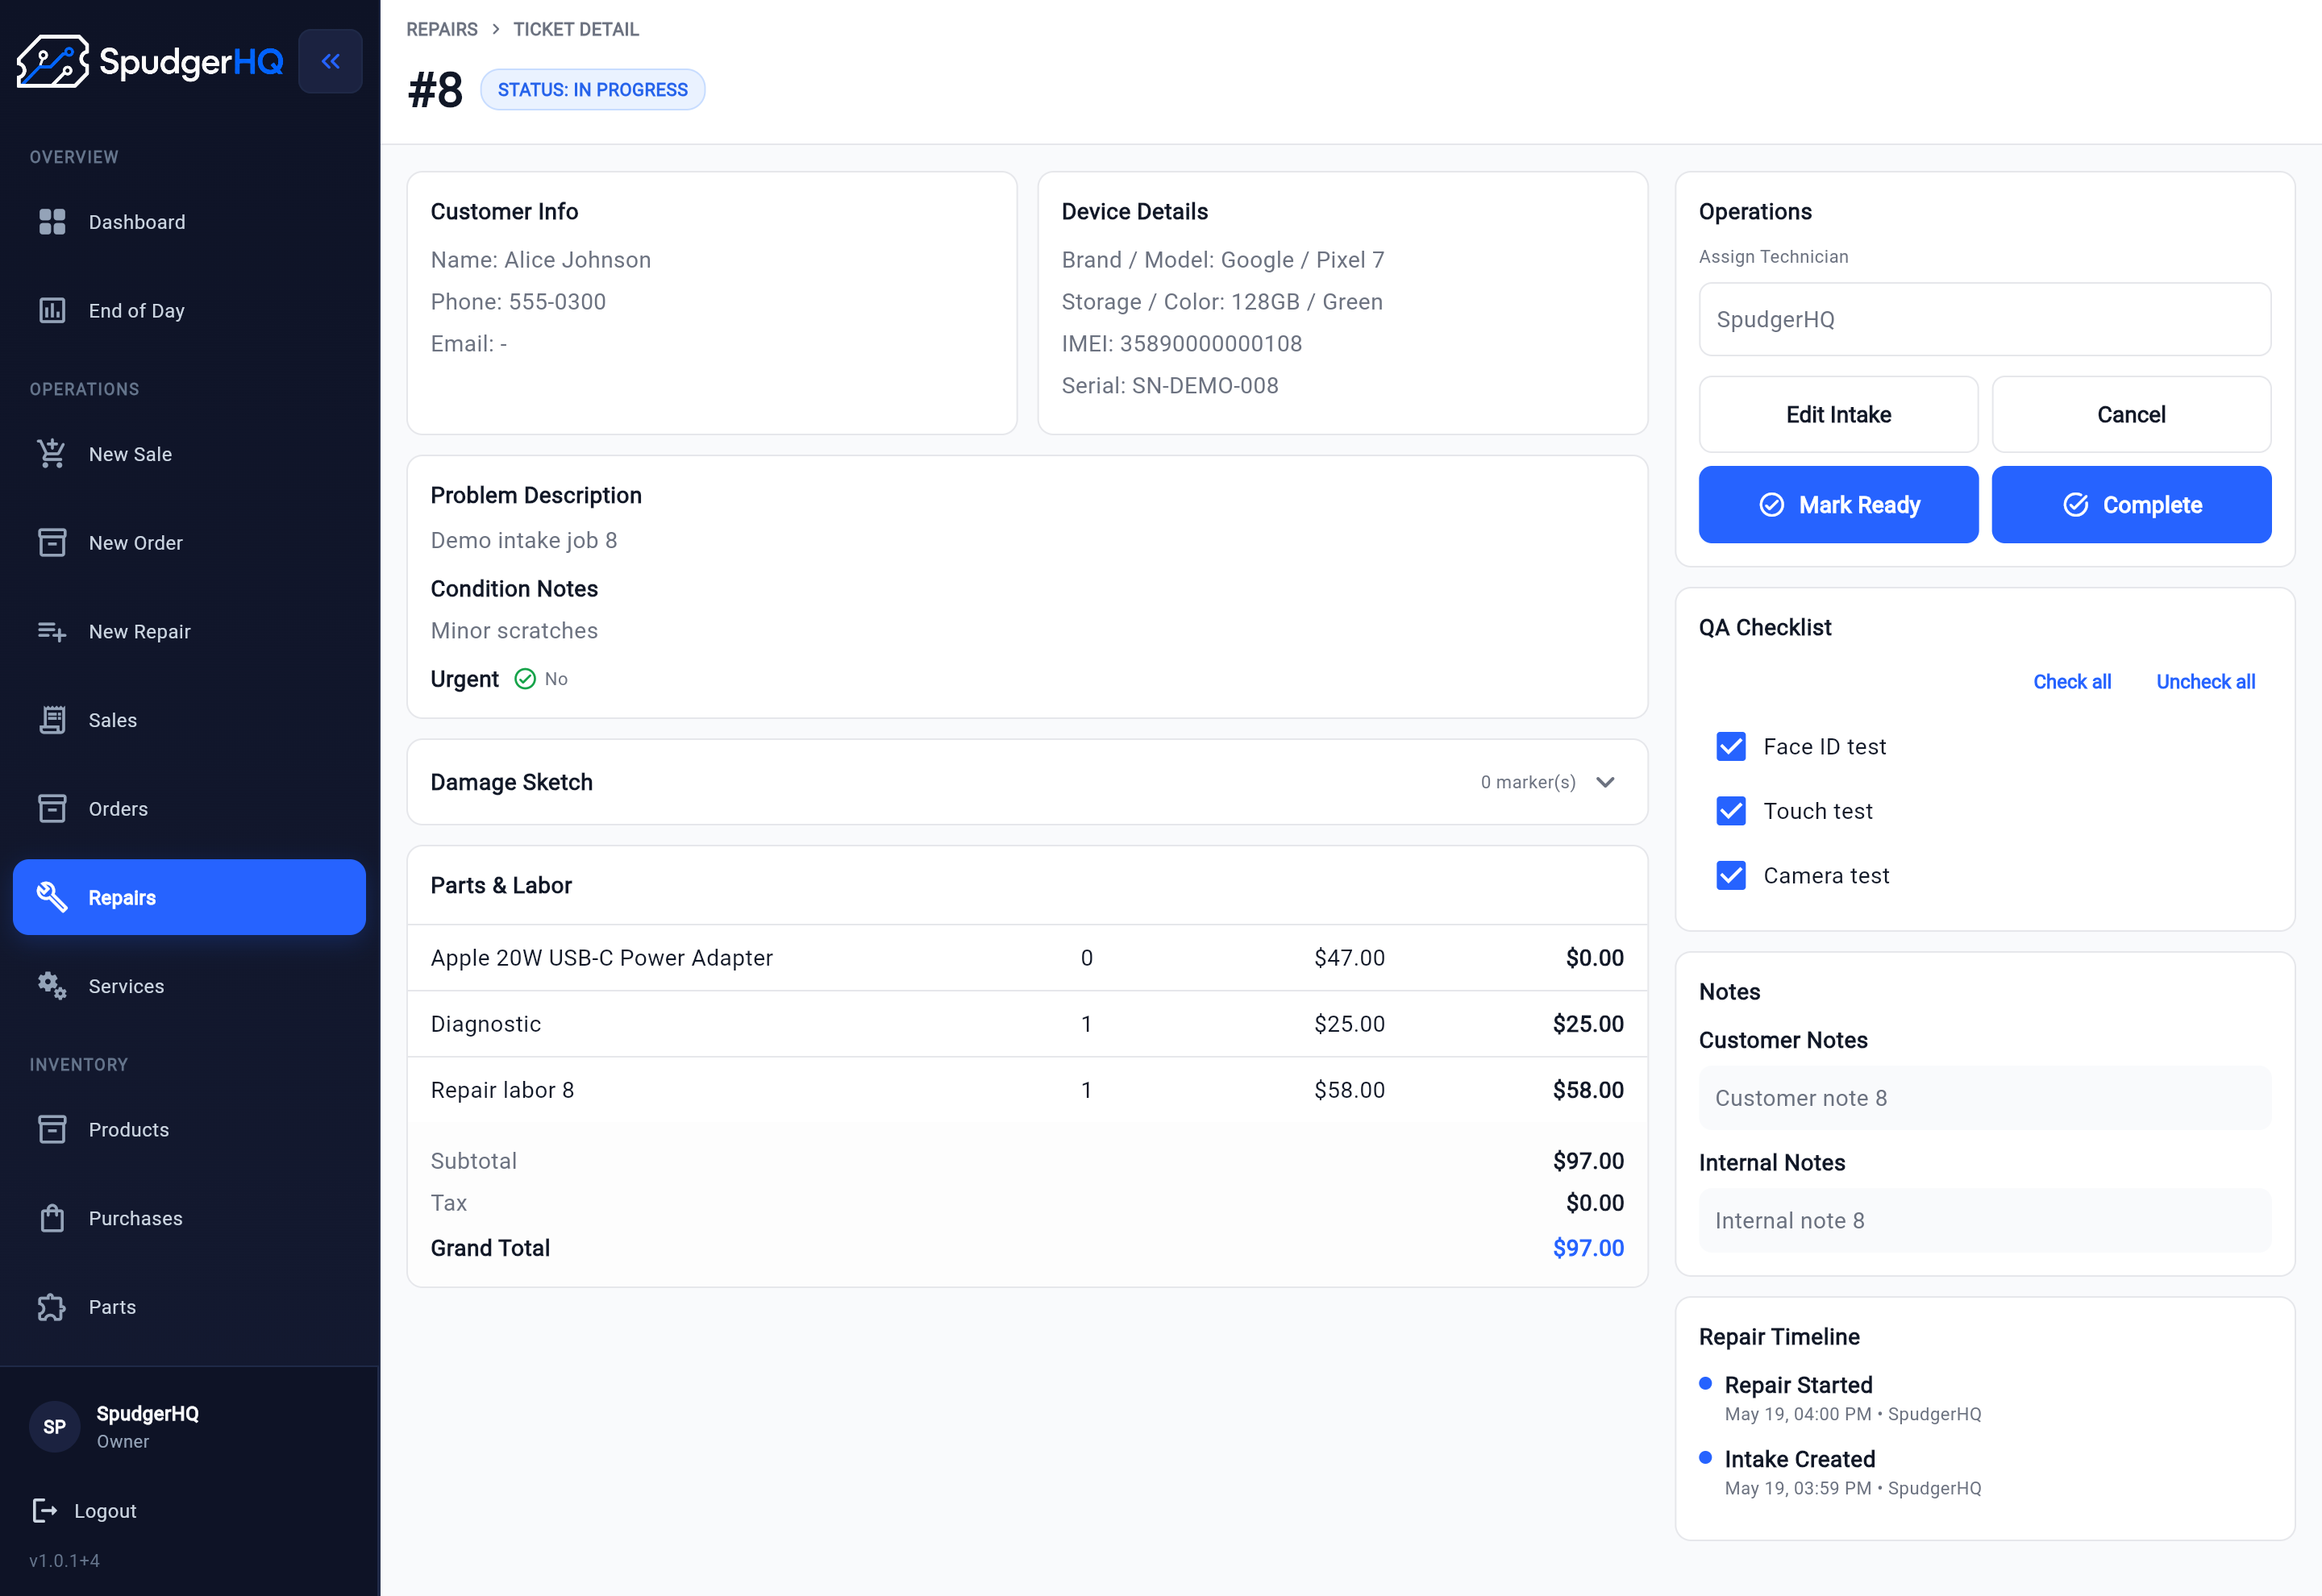
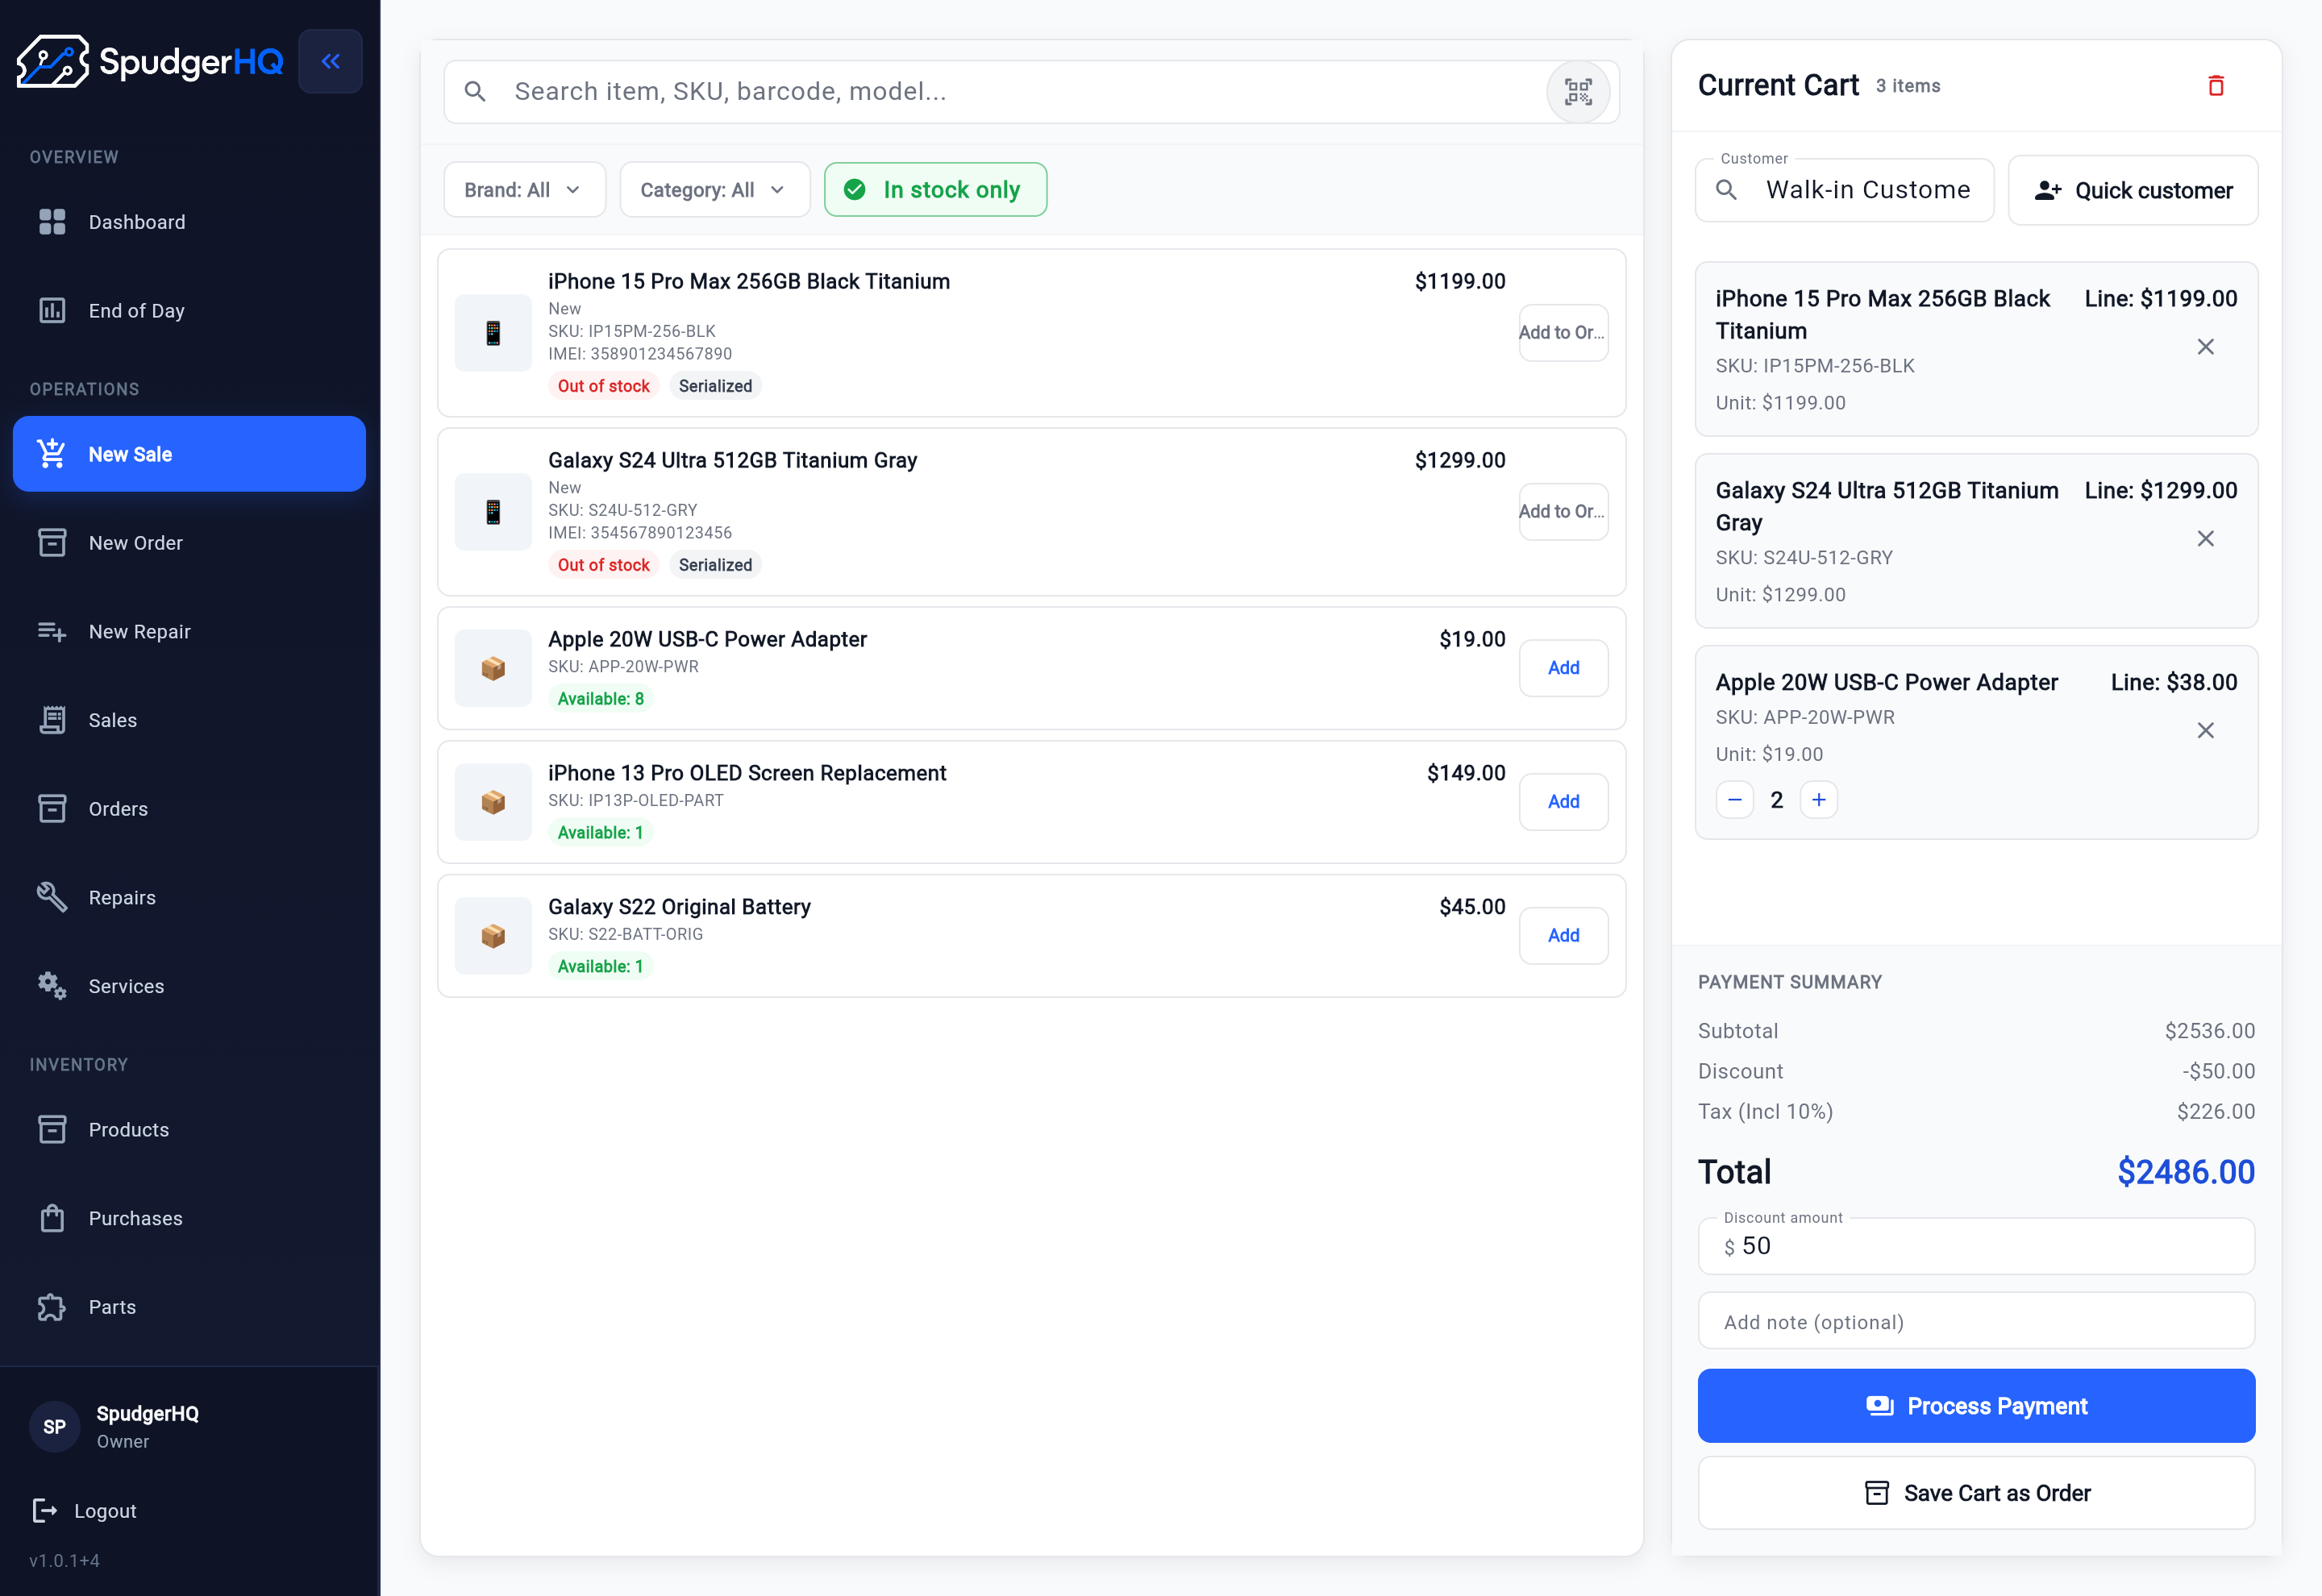
Keep checkout connected to the repair
SpudgerHQ helps small phone repair shops move from intake and repair tickets through parts, QA, payment, receipt, and pickup without rebuilding the job at the counter.
Related repair workflow resources
Phone Repair QA Checklist
Complete the relevant final checks before treating a repair as ready for payment and pickup.
Read Phone Repair QA ChecklistRepair Ticket Workflow
Keep intake, technician updates, parts, QA, and closeout attached to one repair record.
Read Repair Ticket WorkflowGeneric POS vs Repair Shop POS
Understand why repair checkout needs more job context than a standard retail transaction.
Read Generic POS vs Repair Shop POSPhone repair shop checkout workflow FAQ
What should a phone repair shop checkout workflow include?
It should include a final ticket review, confirmation of parts and services, QA, final-price review, previous-payment reconciliation, payment, receipt, status update, and customer pickup.
Should a repair shop take payment before or after QA?
The shop should normally confirm the relevant final checks before treating the repair as ready for final payment and pickup. If QA identifies another issue, the repair may need to return to an active or approval stage.
What happens when the final repair price changes?
Explain why the total changed and confirm that any material additional work was approved. Record the updated parts, services, discount, tax, and customer decision in the repair record before completing checkout.
How should a repair shop handle a deposit?
Record the deposit against the correct customer and repair, then subtract it from the final total. Verify that it has not been counted twice and confirm the remaining balance before accepting final payment.
Is a completed repair the same as a picked-up repair?
Not always. The technical repair may be complete while the device is still waiting at the shop. The status should make it clear whether the device passed QA, is ready for pickup, or has physically been returned to the customer.
Can a phone repair shop use a normal POS for checkout?
A normal POS may be enough to collect payment and produce a retail receipt. The shop may still need a separate process for customer and device intake, repair tickets, technician updates, parts, approvals, QA, and pickup.